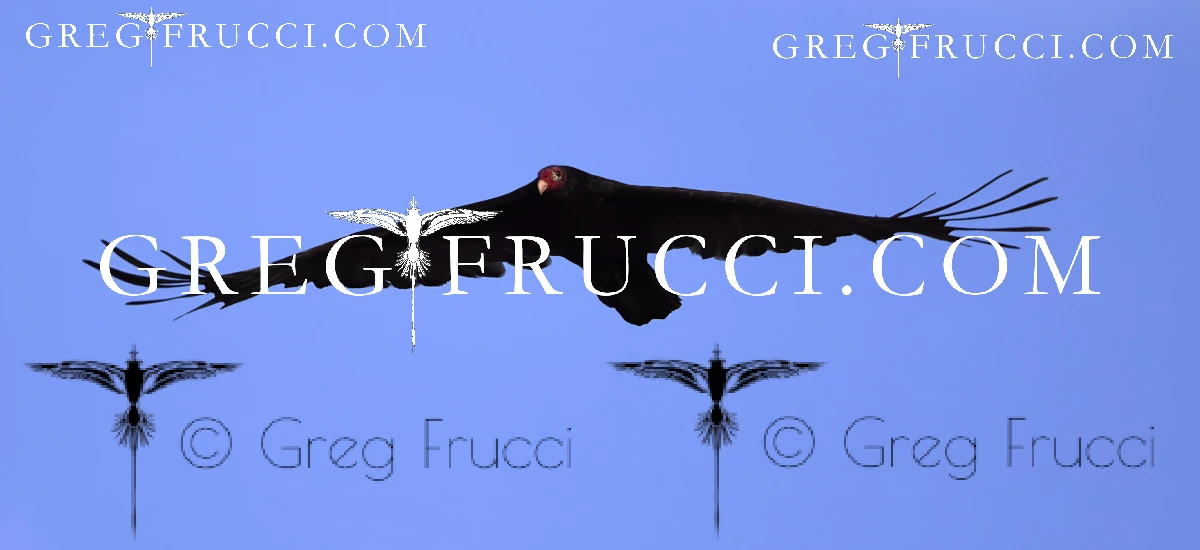
Art has always been a strange game of make and take. You invest time and money creating your masterpiece for other people to appreciate. The more it is appreciated, the more it is reproduced and put to good use. Sometimes, it is put to commercial use for financial gain. Most artists hope to earn a return that covers their costs and enables them to keep on creating. Personally, I’m afraid to add up what it cost me in overhead and gainful employment to build Paperless Ponte Vedra.
That is a contrast to my make-and-take life before Paperless Ponte Vedra. I was usually on the take side, grabbing other people’s images from the internet for my small-time publications. I also experienced the flip side when I found one of my articles copied verbatim onto another website. That website gave me full credit and linked back to the original publication. It just so happens, I was already paid by the original publication. The owner didn’t care because it was out of our market region, so I was simply flattered to be pirated. But now that I’m trying to earn a living with my own publications, I have a reasonable fear of pirates, and I certainly don’t want to be one.
To clarify the line between sharing and theft, I took a Creative Commons certification course. That course accounts for $500 of my overhead costs. You can read my lessons on copyright and sharing elsewhere. This post is to outline the technical side of publishing copyrighted pictures that have been granted to me for this website.
Here is my easy thirty-step process for each of those pictures. I’m writing it as a procedure to follow myself when I forget.
- Open the Windows Explorer folder containing the artist’s watermark.
- In a new tab, open the Downloads folder in Windows Explorer and enable the Details pane.
- Open the web page you will download from.
- Split the screen to see your Downloads folder and the web page side by side.
- Download the image file to your Downloads folder.
- Right-click the image file and open it in Gimp.
- Crop the image as needed, allowing space for a watermark.
- Scale the image to 1200px wide 72ppi.
- Drag the watermark from its tab onto the image in Gimp.
- Position the watermark.
- Export the file to the Downloads folder in webp format using the date the photo was taken (from the Details pane in Windows Explorer) and your file naming convention: yyyy-mm-dd_artist_subject.webp.
- Add a hyphenated number sequence if multiple images take on the same file name.
- Close Gimp and discard any changes to the original file.
- Select the converted file name in the Downloads folder to reveal its properties in the Details pane.
- Reduce the converted file size with TinyJPG if it is larger than 150px.
- Select the original file name in the Downloads folder to reveal its properties in the Details pane.
- Take a screenshot of the screen split between your Downloads folder and the web page. It should contain:
- The downloaded file name
- The converted file name
- The original file properties in the Details pane
- The original file source web page
- The taskbar date of this file’s processing
- Record the image file in your database as a timeline entry within the artist’s photography source.
- Open the post on Paperless Ponte Vedra.
- Insert an image block or Featured Image via the Media Library .
- Copy the artist’s attribution from a previous image to capture the copyright symbol.
- Click Upload and drag the converted image onto the selection window.
- Paste the artist’s attribution into the Alt Text meta field and edit to reflect the new image’s title.
- Copy the revised Alt Text attribution to the other three meta fields.
- Click “Upload image”.
- If the image is in the post body,
- Set its resolution to Full.
- Add a hyperlink to the artist’s photography shop.
- Save the post and check your work.
- Find the corresponding screenshot and move it to your Downloads folder.
- Rename the screenshot with the image’s converted file name, a hyphen, and the word “properties”.
- Use Gimp to export the screenshot to .avif for efficient storage.
- Delete the larger screenshot and the larger original photograph.
- Move the .webp photograph and the .avif screenshot to your media storage.
- Refresh the media storage folder so sequentially appended file names appear in their proper place.


